
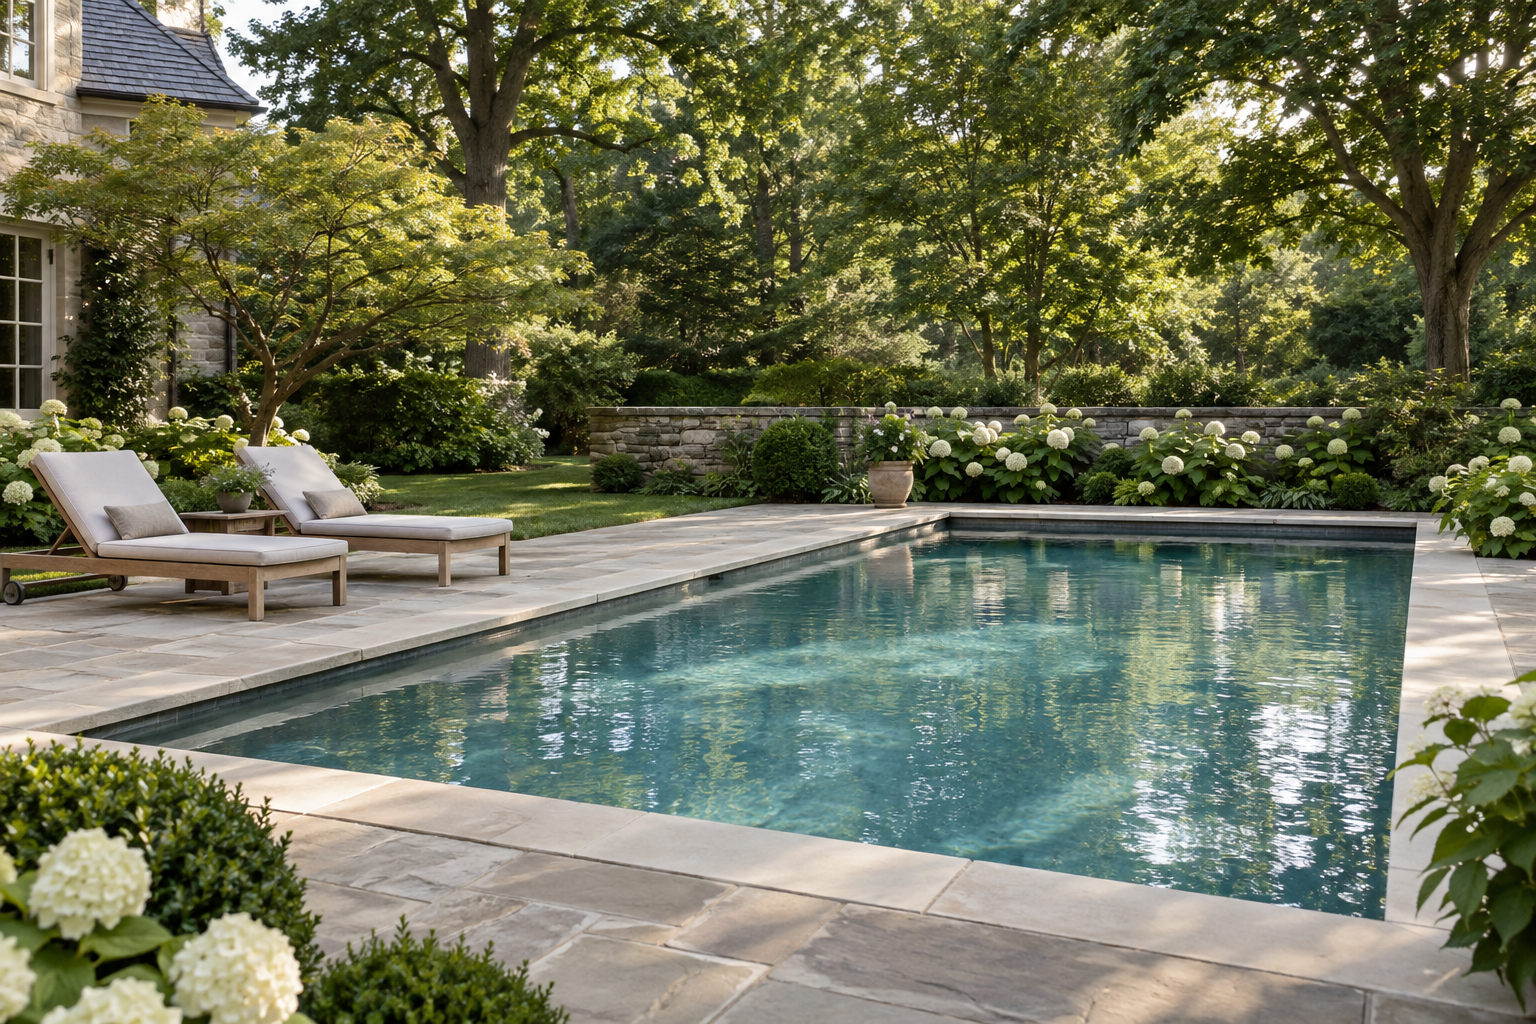
A pool begins as an idea about summer. Building it means coordinating a structure, water, power, drainage and a piece of the garden. Understanding that sequence makes the project easier to follow—and the price easier to question. This guide follows a custom reinforced-concrete pool, commonly described as gunite, from planning through handover. Fiberglass and vinyl-lined pools take different routes, explained below. The goal is to know what is happening, what you need to decide and what to keep.
Plan your pool
Start with the way you want to use it
Decide whether the priority is swimming lengths, playing, exercise, entertaining or somewhere quiet to cool off. A generous shallow area, a clear swimming lane and a raised spa use space differently. Write down who will use the pool and which features are essential. Give the designer a few reference images with a note about what you like in each.
Consider the journey from the house: where towels live, where someone changes, how children reach the garden and where guests sit. Show furniture on the plan. An attractive strip of paving may leave little room behind a pulled-out chair. Ask for optional features to be priced separately so they do not quietly become part of the base project.
Keep a one-page brief and the current drawing together. When a decision changes, update both; a beautiful rendering is not the same thing as an agreed construction specification.
Understand which kind of pool you are buying
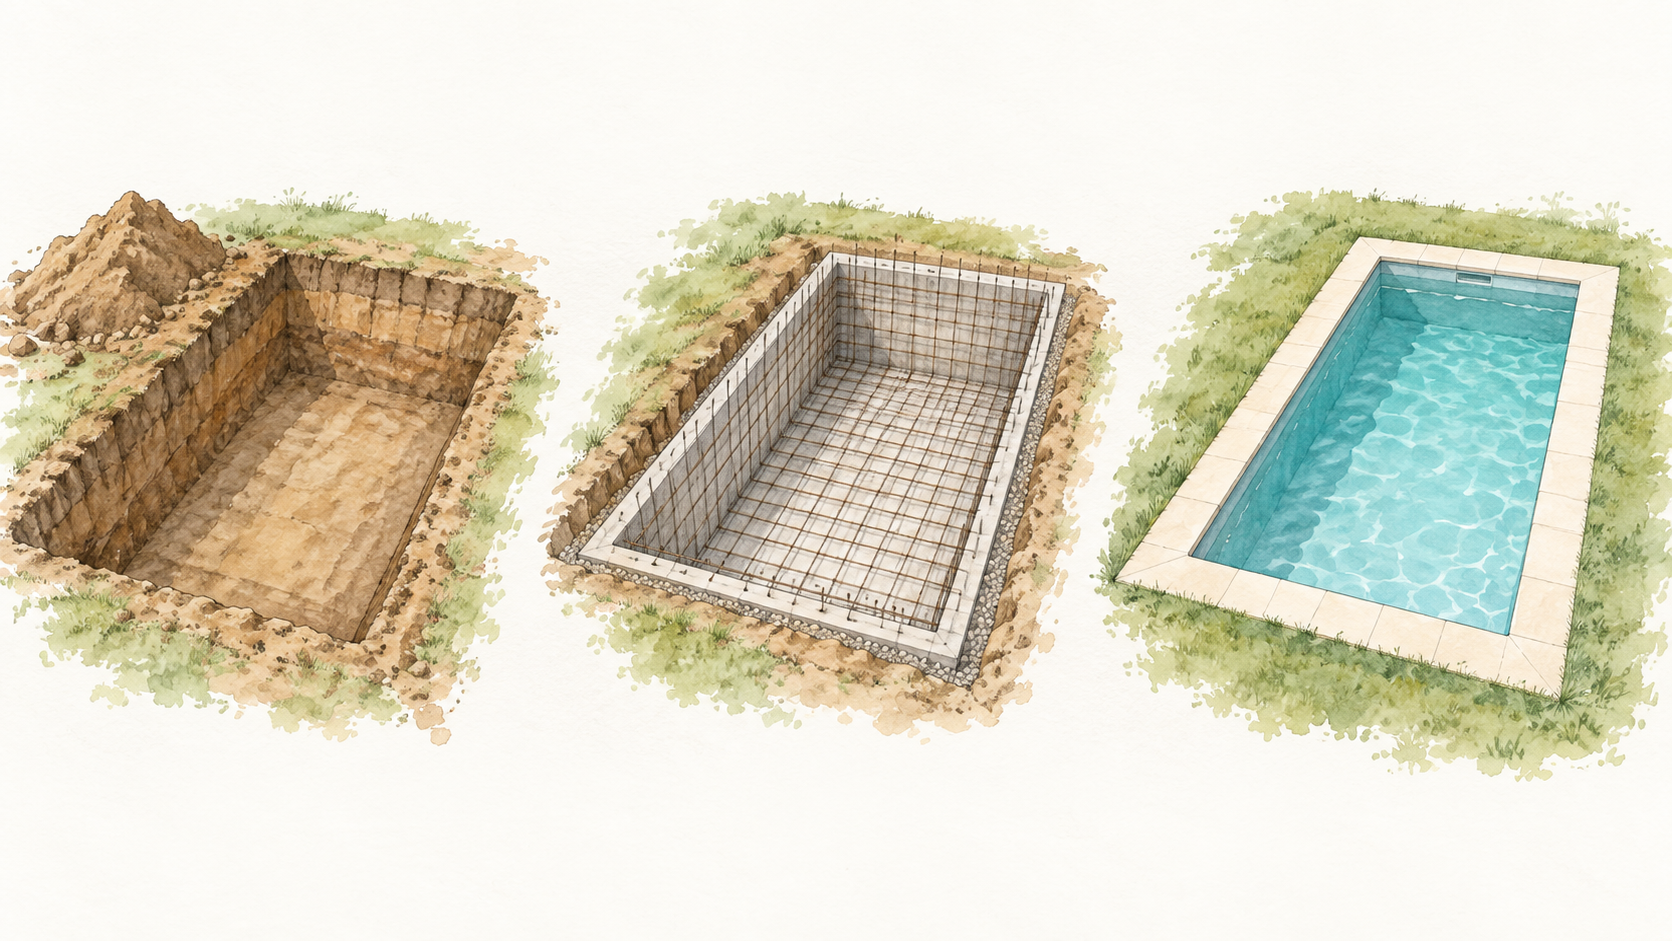
Concrete pools are built on site around reinforcement. Shotcrete describes placing concrete through a hose at high velocity; gunite originally referred to the dry-mix version. Both terminology and the specified method should be clear in your contract. American Shotcrete Association terminology.
A fiberglass pool arrives as a manufactured shell. The installer prepares its foundation, positions and levels it, connects services and coordinates filling with backfilling. Delivery and lifting access therefore matter alongside the pool dimensions. It avoids constructing and plastering a concrete vessel on site, but still needs surrounding works and approvals. Latham's installation overview.
A vinyl-lined pool uses a supporting structure, often a modular wall system, and a fitted liner. Its liner, walls, steps and support details belong in the specification. Ask how future liner replacement would work. Comparing these systems means comparing their construction and future care, as well as their initial price. Latham's vinyl pool components.
Let the site shape the plan
Before fixing the layout, establish what is known about boundaries, easements, utilities, slopes and drainage. Ask whether the available survey is sufficient and whether soil investigation or engineering is needed. Discuss the proposed water level and surrounding terrace levels in relation to doors, the house and neighboring ground. Those heights influence steps, retaining work and the way rain leaves the area.
Confirm the local approval route with the design team and municipality. Radnor's published guidance, for example, identifies grading review and constraints including floodplains, steep slopes, wetlands, easements and impervious coverage. Other municipalities have their own requirements. Radnor application guidance.
Agree who prepares each submission, pays the fees and tracks inspections. Keep approved plans separate from superseded versions. If you have both a landscape designer and pool builder, identify who coordinates their drawings and resolves an overlap. The pool builder and landscape designer must agree how the pool edge meets the terrace, including finished levels and drainage.
Understand the costs
Budget for the finished project
A pool proposal is one part of the budget. Before comparing prices, establish whether each includes the terrace, drainage, fencing, utility connections and garden restoration. A $200,000 contract can leave substantial work to arrange and pay for separately.
The example below starts with a $200,000 pool proposal and adds work assumed to be excluded from that proposal. Every allowance is illustrative. Replace these figures with your own written prices, and remove any item already included in the contract so it is counted only once.
From pool proposal to project total
One example. Every included cost counted once.
| Scope | Example amount |
|---|---|
| Pool builder’s proposalAssumed to include design, engineering, excavation, shell, equipment, interior finish, coping and startup. | $200,000 |
| Deck and drainagePaving, steps and surface drainage. | $35,000 |
| Fencing and gatesA complete enclosure for the approved plan. | $10,000 |
| Utility connectionsElectrical or gas work outside the builder’s scope. | $6,000 |
| Garden and access restorationSoil, planting, irrigation and access repairs. | $12,000 |
| Permit and inspection feesFees assumed separate from the proposal. | $3,000 |
| Water and initial fillFilling costs assumed separate from startup. | $2,000 |
| Planned work subtotal | $268,000 |
| Contingency reserveAn illustrative reserve for changes and unforeseen work; agree the amount for your site. | $20,000 |
| Total project budget | $288,000 |
Example scope excludes a spa, automatic cover, outdoor kitchen, pool house and ongoing running costs. Add chosen options before settling the budget. These figures demonstrate the arithmetic; they are not an average, a quote or a price ceiling.
See published construction ranges
For a separate reference, Scott Payne Custom Pools in Montgomeryville publishes these 2025–26 PA/NJ component ranges. Its advertised common range for a custom pool with hardscape is $125,000–$250,000. Builder’s published pricing.
The subtotal adds only the rows shown. Different specifications and sites produce different combinations; it is not a complete project quote. Design, fencing, restoration, options and contingency need their own prices. A plus sign means the published range has no fixed upper limit.
| Selected work | Low | High |
|---|---|---|
| Site engineering | $3,500 | $10,000 |
| Excavation and preparation | $5,000 | $10,000 |
| Reinforcement and gunite shell | $15,000 | $35,000 |
| Equipment, plumbing and electrical | $17,000 | $30,000 |
| PebbleTec interior finish | $12,000 | $22,000 |
| Coping and waterline tile | $8,000 | $15,000 |
| Decking and hardscape | $15,000 | $55,000+ |
| Permit and inspection fees | $1,500 | $4,500 |
| Selected work subtotal | $77,000 | $181,500+ |
Turn the estimate into a complete scope
Give each bidder the same scope worksheet. Ask them to mark every row included, excluded, allowance or option. Record the amount where priced; if it is bundled elsewhere, note where. Leave unpriced work clearly marked so you can request a figure. An allowance needs an assumed quantity and selection level, plus an explanation of how the final charge is calculated.
Keep contingency separate from optional upgrades. Contingency covers uncertain or unforeseen costs. Optional upgrades are separate choices to price. Ask what investigations could narrow the uncertainty before construction. Agree the authorization process for changes, including any effect on timing. A change should explain both what is different and why.
Swipe to view the full table
| Cost heading | Confirm in the price | Evidence or exclusion to request |
|---|---|---|
| Design and survey | Drawings, survey work, revisions | Deliverables and revision allowance |
| Engineering and approvals | Structural, grading and drainage work | Consultant scope; actual municipal fees |
| Access and protection | Machinery route, temporary removals | Restoration responsibility; pre-work photos |
| Excavation | Digging, loading, removal and disposal | Ground assumptions; rock and water provisions |
| Concrete structure | Reinforcement, placement and curing | Engineer’s specification; testing requirements |
| Pool plumbing | Pipework, fittings and testing | Routing and equipment connections |
| Utilities | Electrical work and fuel supply | Panel upgrades or long service runs |
| Equipment | Pump, filter, heat and treatment | Model numbers; automation scope |
| Finish and pool edge | Interior, tile, coping, specified waterproofing | Selections, quantities and installation system |
| Terrace and drainage | Paving, steps, retaining work | Area, materials and drainage drawings |
| Barriers and covers | Fences, gates and specified protections | Required approvals; separate cover options |
| Garden restoration | Soil, planting, irrigation repairs | Exact limits of reinstatement |
| Completion and opening | Fill, startup, training and cleaning | Visit schedule; first-season exclusions |
Follow the construction
1. Set out the pool and prepare the site
Before excavation, the team transfers the design onto the ground. Walk the marked layout with the builder: pool position, terrace outline, entry points, equipment location and major features. Ask them to identify the finished heights. This is a useful moment to catch a misunderstanding about the view or circulation while a correction is still a drawing decision.
Agree access, delivery and storage arrangements, protection of retained trees and structures, and the limits of the work area. Photograph paving, fences and lawns along the machinery route. Establish how children and pets will be kept away and who secures the site at the end of each day.
Confirm the contractor's utility-location arrangements. Pennsylvania One Call explains that utility responses may not identify customer-owned lines such as garden lighting or existing pool connections; these may need a private locating service. Pennsylvania One Call guidance.
2. Excavate—and resolve what the ground reveals
Excavation creates room for the pool structure, not just its eventual water surface. The crew removes material and forms the required profile. Access determines how machinery and trucks reach the work; disposal arrangements determine what happens to the excavated material. Keep agreed reuse of soil separate from an assumption that it can simply be spread across the garden.
The exposed ground may differ from the conditions assumed when pricing. Ask who assesses rock, unsuitable material or groundwater and whether the design professional must review the response. The ASA identifies subgrade preparation and variable soil conditions as part of engineered pool design. Pool structure guidance.
If additional work is proposed, request photographs, the professional's explanation, the proposed remedy and its price before approving a change. Your role is to understand the decision, not inspect from inside the excavation. Stay outside the contractor's exclusion area. Keep the resulting instruction with the revised budget and program.
3. Install reinforcement, plumbing and electrical connections
Concrete is strong in compression; steel reinforcement helps it carry tension. The installed cage follows the pool's geometry and must sit in the specified position within the future shell. Its layout, support and surrounding concrete matter, not simply how substantial the steel looks. ASA explains why designers and installers must coordinate these details. Steel reinforcement guidance.
The circulation pipework links the vessel to the equipment pad; other runs may serve a spa or water features. Plumbing and electrical teams coordinate fittings and conduits through or around the structure. Confirm the agreed positions of steps, benches, lights, skimmers and returns. A late addition can affect several trades. Before concrete placement or backfilling, confirm with the builder that the required reinforcement and electrical bonding inspections and plumbing tests are complete. Radnor inspection schedule. A builder's construction sequence.
Request dated photographs of the exposed work and its relationship to fixed landmarks, plus the inspection and test records required by the project. These photographs may later help locate a buried route, but they do not replace accurate drawings or a professional assessment. Have field changes incorporated into the record of what was actually installed.
4. Place and cure the concrete shell
A specialist crew sprays concrete around the reinforcement. Finishers trim and shape the placed material to form the floor, walls, steps and other specified features. The dramatic change from an excavation to a recognizable pool can happen quickly. It does not mean the structure is ready for every following trade. Gunite Specialists' process and ASA placement terminology.
Curing maintains suitable moisture and temperature while the cement develops its properties. It is not simply a wait for concrete to dry. ASA explains that curing affects strength development, watertightness and the performance of the later finish. Curing guidance.
Before placement, ask for the specified curing method, duration and responsible party. Include weather protection and any required testing or approval before subsequent work. If your participation is expected, agree clear instructions and safe access in advance. Keep the placement date, relevant quality records and confirmation of the completed curing period.
5. Resolve waterproofing, tile and coping as a system
The concrete shell and its decorative finish have different jobs. ASA states that a properly designed and constructed shotcrete pool should be functionally watertight under normal service conditions. A decorative surface is not an explanation for leaving an unresolved shell defect beneath it. Watertight shotcrete guidance.
Ask whether your design specifies an additional waterproofing layer, where it applies and which compatible installation products will be used. Request the proposed preparation and inspection of the substrate before it is covered. If cracks or other concerns are identified, have the responsible professional resolve them before finishing continues.
Coping caps the pool edge; waterline tile sits at the upper interior. Review physical samples and edge profiles, and confirm suitability for the intended wet outdoor setting. Ask how the coping meets the terrace and where designed joints go. Record the exact selections, including a photograph of the sample and product reference. Pool-edge stages.
6. Build the terrace, drainage and safe enclosure
The surrounding work determines how the pool belongs to the garden. Check the approved terrace area against the furniture plan, the step positions and the route back to the house. Confirm who coordinates retaining work and drainage, including where collected water goes. Ask the designer to explain the finished levels before paving hides the preparation below.
Plan maintenance access to the equipment and future replacement of bulky components. Attractive screening should still leave the service access required by the equipment instructions. Agree exactly which disturbed areas receive soil, planting, irrigation repairs or replacement paving.
Have the required enclosure and gate protections in place and working before filling. Confirm the required inspection timing with the local authority. CPSC describes barriers as a layer of protection that cannot replace adult supervision. Have the builder and local authority confirm the applicable requirements; test the agreed gate and access-control operation at handover. CPSC pool barrier guidance.
7. Install the equipment and prepare for startup
The pump moves water through the system; the filter removes debris; heating and water-treatment equipment perform separate roles. Those components must work as a coordinated system. Ask the designer to explain their selection for your pool and intended use, including the requested swimming season. Pentair equipment overview.
Confirm equipment models against the approved schedule and identify utility work still required. A heater on the equipment list does not, by itself, describe every cost of connecting fuel or electrical supply. Have the appropriate trades complete installation and the required checks. Coordinate operational commissioning with filling and startup, following the equipment and finish instructions.
Before startup, ask for a labeled equipment layout and record the models and serial numbers. Once the pool is filled and the system is ready to operate, commissioning checks how the installed equipment works together. Ask for a demonstration of normal operation, controls and the response to a fault. If there is automation, establish what it controls, what it merely reports and what still needs a person to check.
Finish, fill and start up
8. Apply the interior finish, fill and start up
After the shell and related work are ready, the finishing crew prepares the interior and applies the specified plaster or aggregate surface. Smooth, quartz and exposed-pebble choices produce different appearances and textures; review actual samples rather than relying on a water-color rendering. The builder should coordinate this stage with the remaining dirty work, equipment readiness and the finish manufacturer's requirements. Interior finish stage.
Before finishing, confirm that filtration will be ready when filling is complete. Agree who monitors the fill, stops it at the specified operating level and performs startup care. Follow the finish-specific instructions. NPC guidance calls for uninterrupted filling and emphasizes care during the first 28 days, adjusted for the finish and water conditions. National Plasterers Council guidance.
Obtain the written plan, test records and any restrictions on heaters, cleaners or other equipment. Ask who makes return visits and when routine care begins. Keep people and pets out during filling; swimming should wait until the water is properly balanced and sanitized and the project is cleared for use.
Handover and ongoing care
9. Finish with a handover you can use
Walk the completed project with the responsible builder. Separate work that is complete from outstanding items, with an owner and date for each. Gather the relevant inspection approvals and ask which document confirms the permitted work is closed out. A tour of the controls and a folder of manuals are both useful; neither replaces the other.
Keep the final drawings, concealed-work photographs, specifications, equipment details, warranties, startup records and service contacts together. Note what each warranty covers, who receives a claim and which care records are required. Confirm the next visit and the first seasonal closing arrangements before the team leaves.
Budget for the seasons after construction
Ask for an operating estimate that separates energy, water, treatment supplies, regular service and seasonal opening and closing. State its assumptions: heating target, swimming season, service frequency and what the homeowner will handle. Future equipment replacement, finish renewal and landscape care belong in a longer-term plan rather than disappearing inside a single maintenance figure.
After the first season, replace assumptions with the bills and service history from your own pool. Record recurring issues and adjustments. That is how the construction project becomes part of a home you understand—and how the next decision starts with evidence instead of a guess.
Before you approve the build
You should be able to point to the agreed design, the complete scope and price, the outstanding site questions, the inspection and decision points, and the person coordinating each stage. A good pool proposal makes those things clear before the first truck arrives.
Sources & further reading
- American Shotcrete Association: Definitions of Key Shotcrete Terminology
- Latham: Fiberglass Pool Installation Timeline
- Latham: Vinyl Liner Pool Components
- Radnor Township: Building Permit Application Regulations
- Scott Payne Custom Pools: Published PA/NJ Cost Ranges
- Pennsylvania One Call: Homeowner Guidance
- American Shotcrete Association: Watertight Shotcrete for Swimming Pools
- American Shotcrete Association: Steel Reinforcement for Shotcreted Pools
- Grunit Pools: Construction and Inspection Sequence
- Gunite Specialists, Ambler: Pool Building Process
- American Shotcrete Association: Curing of Shotcrete for Swimming Pools
- CPSC: Safety Barrier Guidelines for Residential Pools
- Pentair: Understand Your Pool Equipment
- National Plasterers Council: Tips on Filling the Pool and Initial Start Up